Publishing Your Blog and Managing Your Domain
Creating great content is only half the battle - it needs to be discoverable. This guide covers publishing your blog, connecting your own domain, and getting indexed by search engines.
Your Blog is Already Live
Every Nukipa workspace comes with a built-in blog hosted on a subdomain. As soon as you publish a blog post, it's live and accessible at:
yourworkspace.nukipa.io
No setup needed. Your blog has a professional design that uses your brand colors and fonts.
Note: Pages on the Nukipa subdomain are not indexed by search engines. Your content is accessible via direct link, but it won't appear in Google or Bing results. To enable search engine indexing, connect a custom domain (see below).
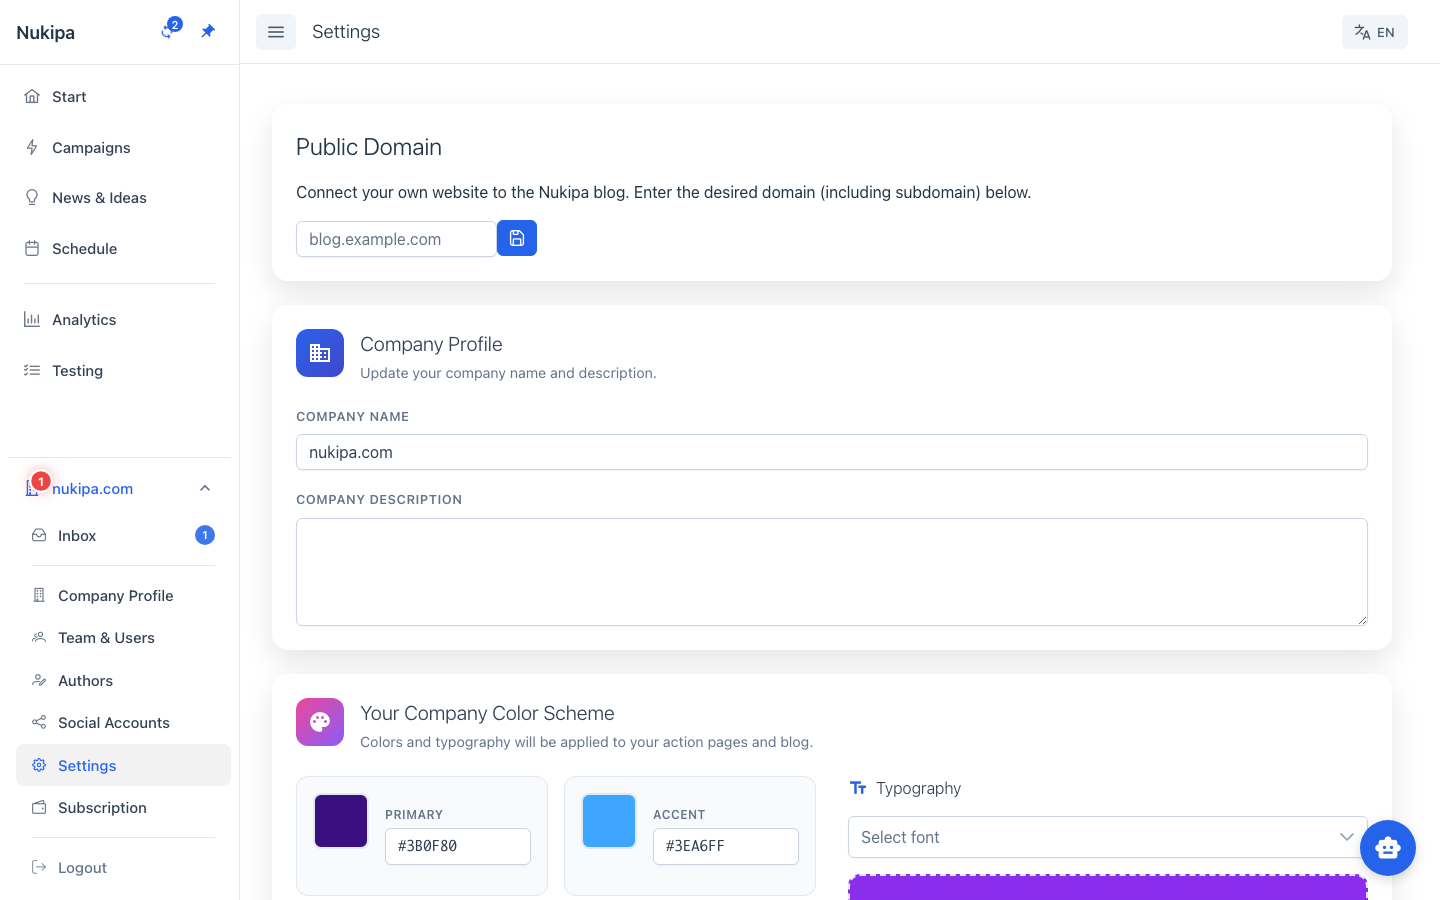
Setting Up a Custom Domain
For a more professional presence and search engine visibility, connect your own domain:
- Go to Settings > Domain.
- Enter your desired domain (e.g.,
blog.yourcompany.com). - Nukipa will provide DNS records you need to add at your domain registrar.
- Add the DNS records (typically a CNAME or A record).
- Return to Nukipa and verify the domain.
- Once verified, your blog is accessible at your custom domain.
Important: Custom domain setup requires a paid or trial subscription.
Publishing Blog Posts
Immediate Publishing
- Open a blog post with status "ready."
- Click Publish.
- The post is instantly visible on your blog.
Scheduled Publishing
- Open a blog post.
- Click Schedule.
- Set the date and time.
- The post automatically publishes at the scheduled moment.
Batch Publishing
- In the campaign view, select multiple blog posts.
- Use the Batch Action menu.
- Choose Publish to publish all selected posts at once.
Managing Visibility
Published posts can be unpublished at any time:
- Open the post and click Unpublish - it returns to draft status.
- The post is removed from your public blog immediately.
Submitting to Search Engines
Once you've connected a custom domain, you can submit your sitemap to search engines to help them discover your content.
Google Search Console
- Go to Settings > Sitemaps.
- Click Register with Google.
- Verify your domain ownership (DNS or meta tag method).
- Click Submit Sitemap - Nukipa sends your sitemap to Google.
Bing (via IndexNow)
- In Settings > Sitemaps, click Submit to Bing.
- Nukipa uses the IndexNow protocol for instant indexing notification.
Your sitemap is automatically kept up to date as you publish or unpublish content.
Blog Preview
Before publishing, use the Blog Preview feature to see how your blog looks with all published posts. Navigate to the blog preview from the sidebar to check layout, formatting, and overall appearance.

Tips for Visibility
- Publish consistently. Search engines favor websites that regularly add new content.
- Use keywords strategically. The keywords you research in the Keywords section should appear naturally in your blog posts.
- Submit your sitemap after every batch of new posts. This tells search engines to re-crawl your content.
- Set up a custom domain as early as possible. Nukipa subdomain pages are not indexed by search engines. Once you connect a custom domain, indexing is enabled and your content can appear in search results.