Enriching Blog Posts with CTAs, Images, Links, and Widgets
Blog posts that just contain text miss opportunities to engage readers and drive conversions. Nukipa lets you enrich your articles with call-to-action buttons, images from your file library, links to other blog posts, and even interactive widgets.
Inserting Call-to-Action (CTA) Elements
CTAs turn readers into leads and customers. You can insert two types of CTAs directly into your blog posts:
URL Buttons
A clickable button that links to any URL - your pricing page, a product demo, or an external resource.
Contact Forms
An inline form that captures visitor information directly within the blog post. Submissions appear in your Messages inbox.
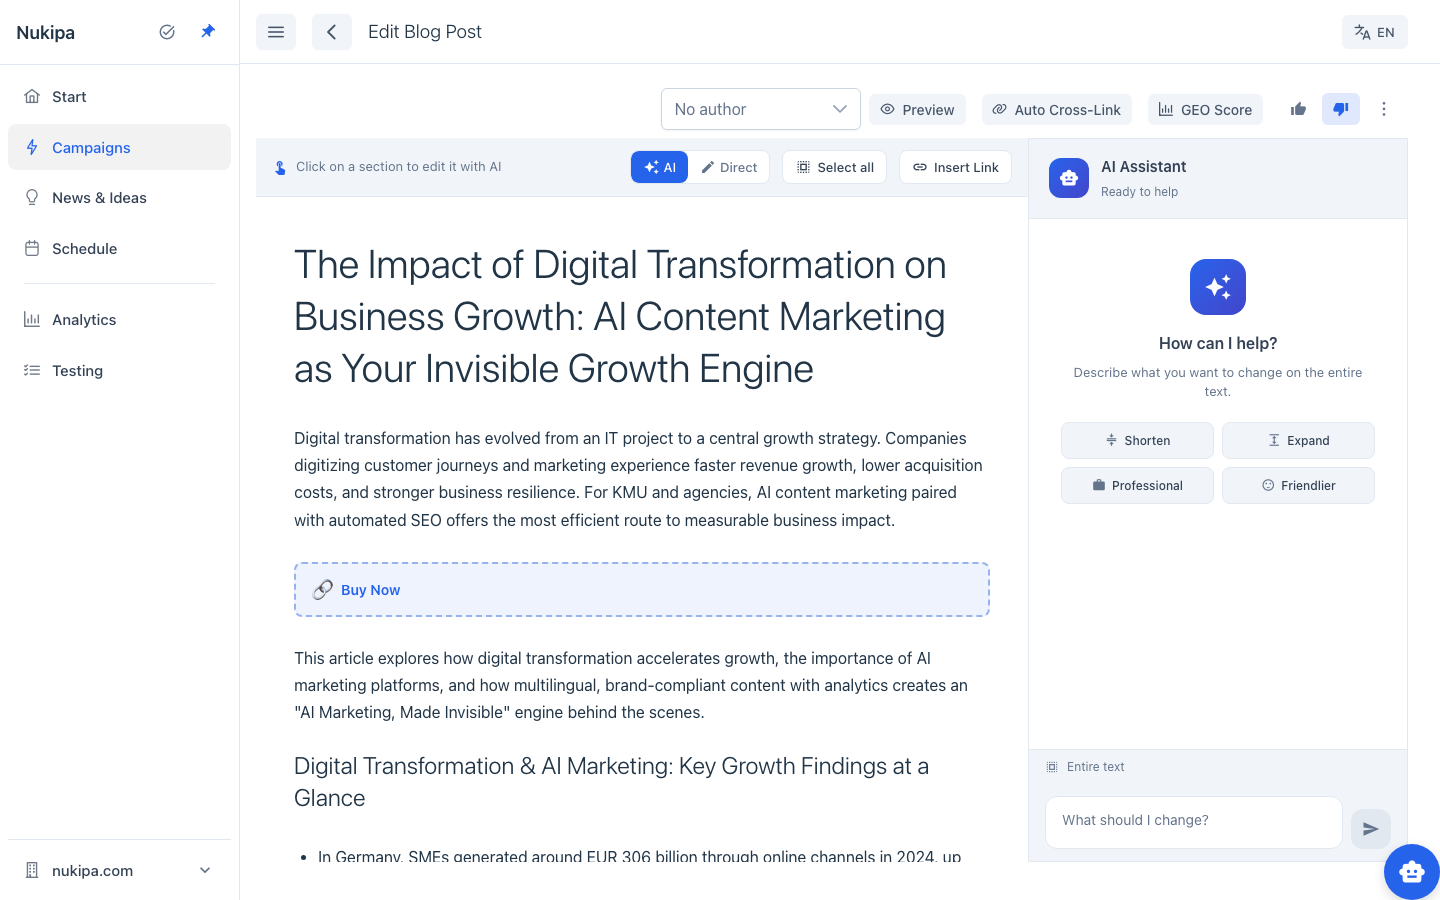
How to Insert a CTA
- Open a blog post in the editor.
- Hover between any two sections to reveal the insert buttons.
- Click the CTA insert button.
- Choose a CTA you configured in Settings, or create a new one.
- The CTA appears as a styled block between your content sections.
Global Blog CTAs
Instead of configuring CTAs per post, define them once in Settings > Blog CTAs:
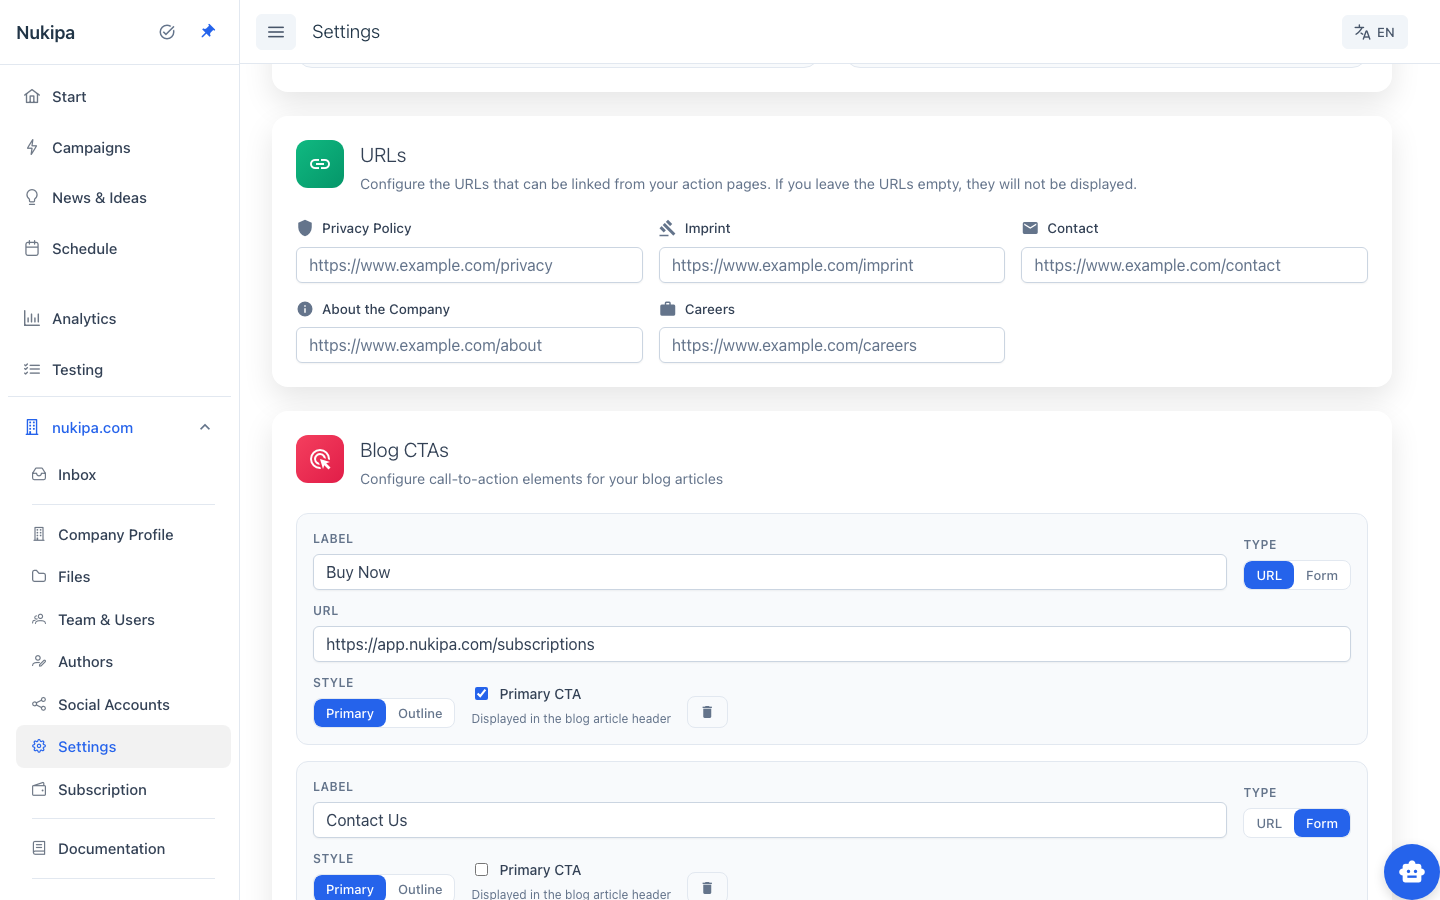
- Set a label (e.g., "Buy Now", "Contact Us", "Get a Quote").
- Choose the type: URL (links to a page) or Form (captures leads).
- Pick a style: Primary (filled button) or Outline.
- Mark one CTA as Primary - it automatically appears in the header of every blog article.
The primary CTA is displayed as a prominent button next to the article title on your public blog, giving every post a built-in conversion opportunity.
Inserting Images
Add visual content from your uploaded files directly into blog posts:
- Hover between sections in the editor.
- Click the image insert button.
- Browse your file library and select an image.
- The image appears inline in the article.
Tip: Upload product screenshots, infographics, or diagrams to your Files section first, then insert them into relevant blog posts.
Inserting Links to Other Blog Posts
Internal links improve SEO and keep readers on your site longer:
Manual Link Insertion
- Click Insert Link in the editor toolbar.
- Choose a blog post from the dropdown.
- The link is inserted at the current position.
Auto Cross-Link
Click Auto Cross-Link in the toolbar and the AI automatically identifies opportunities to link to your other blog posts. It inserts contextually relevant links throughout the article - saving you time and improving your internal link structure.
Embedding Interactive Widgets
Generate and embed interactive HTML widgets to boost engagement:
- Hover between sections and click the widget insert button.
- Describe what you want (e.g., "ROI calculator for marketing automation" or "quiz about content marketing best practices").
- Optionally upload CSV data to power the widget.
- The AI generates a complete interactive widget embedded in your post.
Widgets can include calculators, quizzes, comparison tools, games, and more. They render as interactive iframes within the blog post.
Note: Widget generation requires a paid plan.
GEO Score
The GEO Score tells you how well your blog post is optimized for generative AI engines (like ChatGPT, Perplexity, and Google AI Overviews):
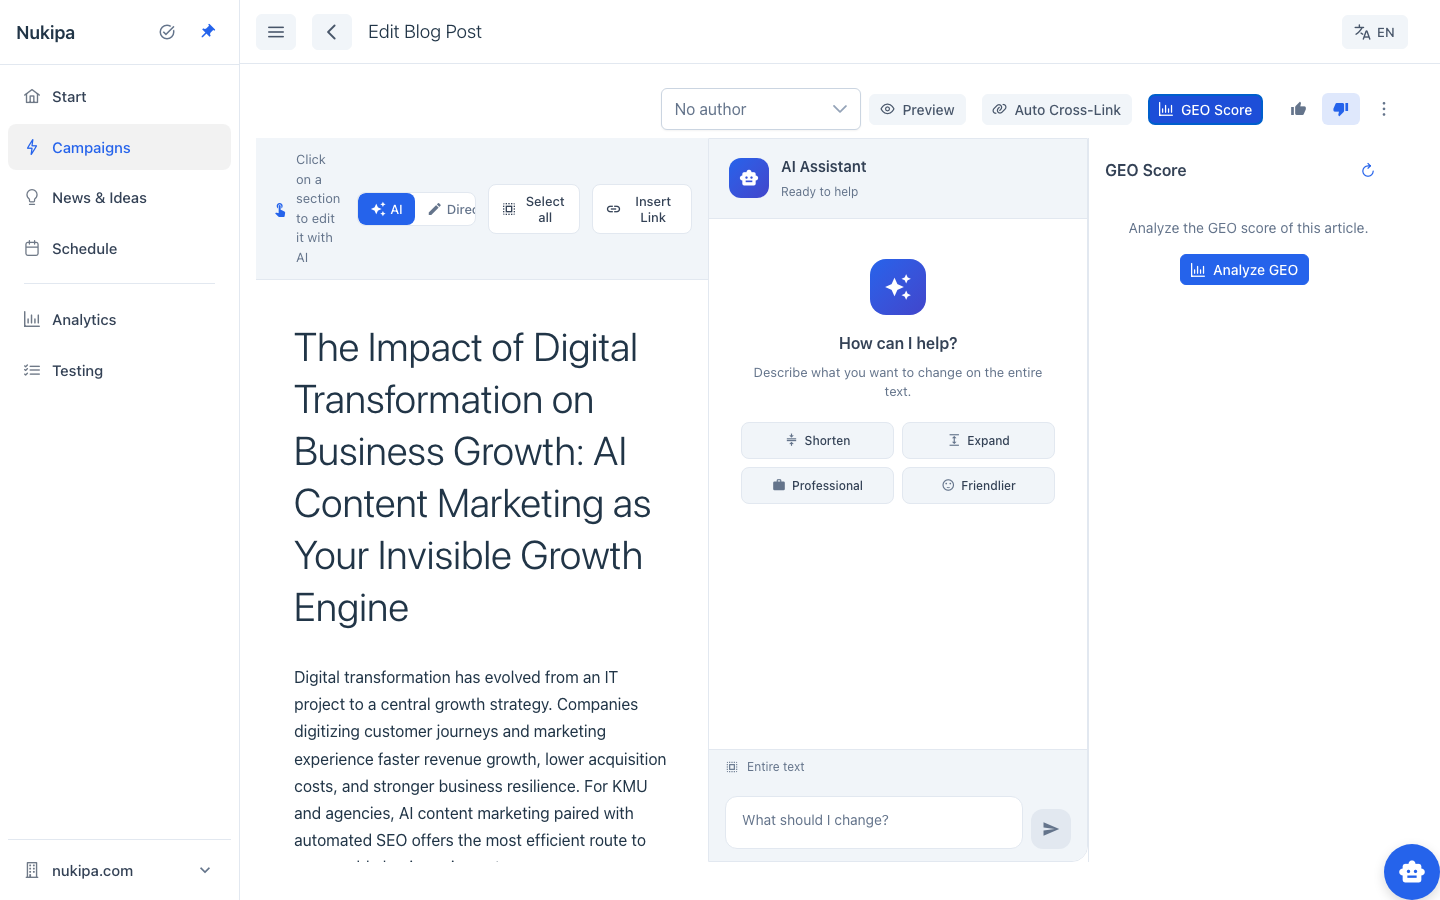
- Click GEO Score in the editor toolbar.
- Click Analyze GEO.
- The AI evaluates your article and provides a score with actionable recommendations.
A higher GEO score means your content is more likely to be cited and surfaced by AI assistants - an increasingly important traffic source alongside traditional SEO.
Blog Post Actions
Access key actions quickly from the edit or preview page via the three-dot menu:
- Generate Image - Create a hero image for the post.
- Translate - Translate the post into another language.
- Social Media - Generate a LinkedIn post from the article.
- Meta description - Generate or edit the post's meta description for SEO.
- Keywords - Generate or edit focus keywords for the post.
- Make private / Make public - Toggle the post's visibility.
Importing an Existing Blog
If you already have a blog, you can import it into an empty campaign:
- Create a new campaign (or open one with no blog posts).
- Click Import blog in the Blog section header.
- Enter your blog's URL.
- Nukipa fetches and imports your existing articles.
Note: Blog import requires a paid plan.